
Seville Orange Marmalade
Recipe and Photography by Ania Elias
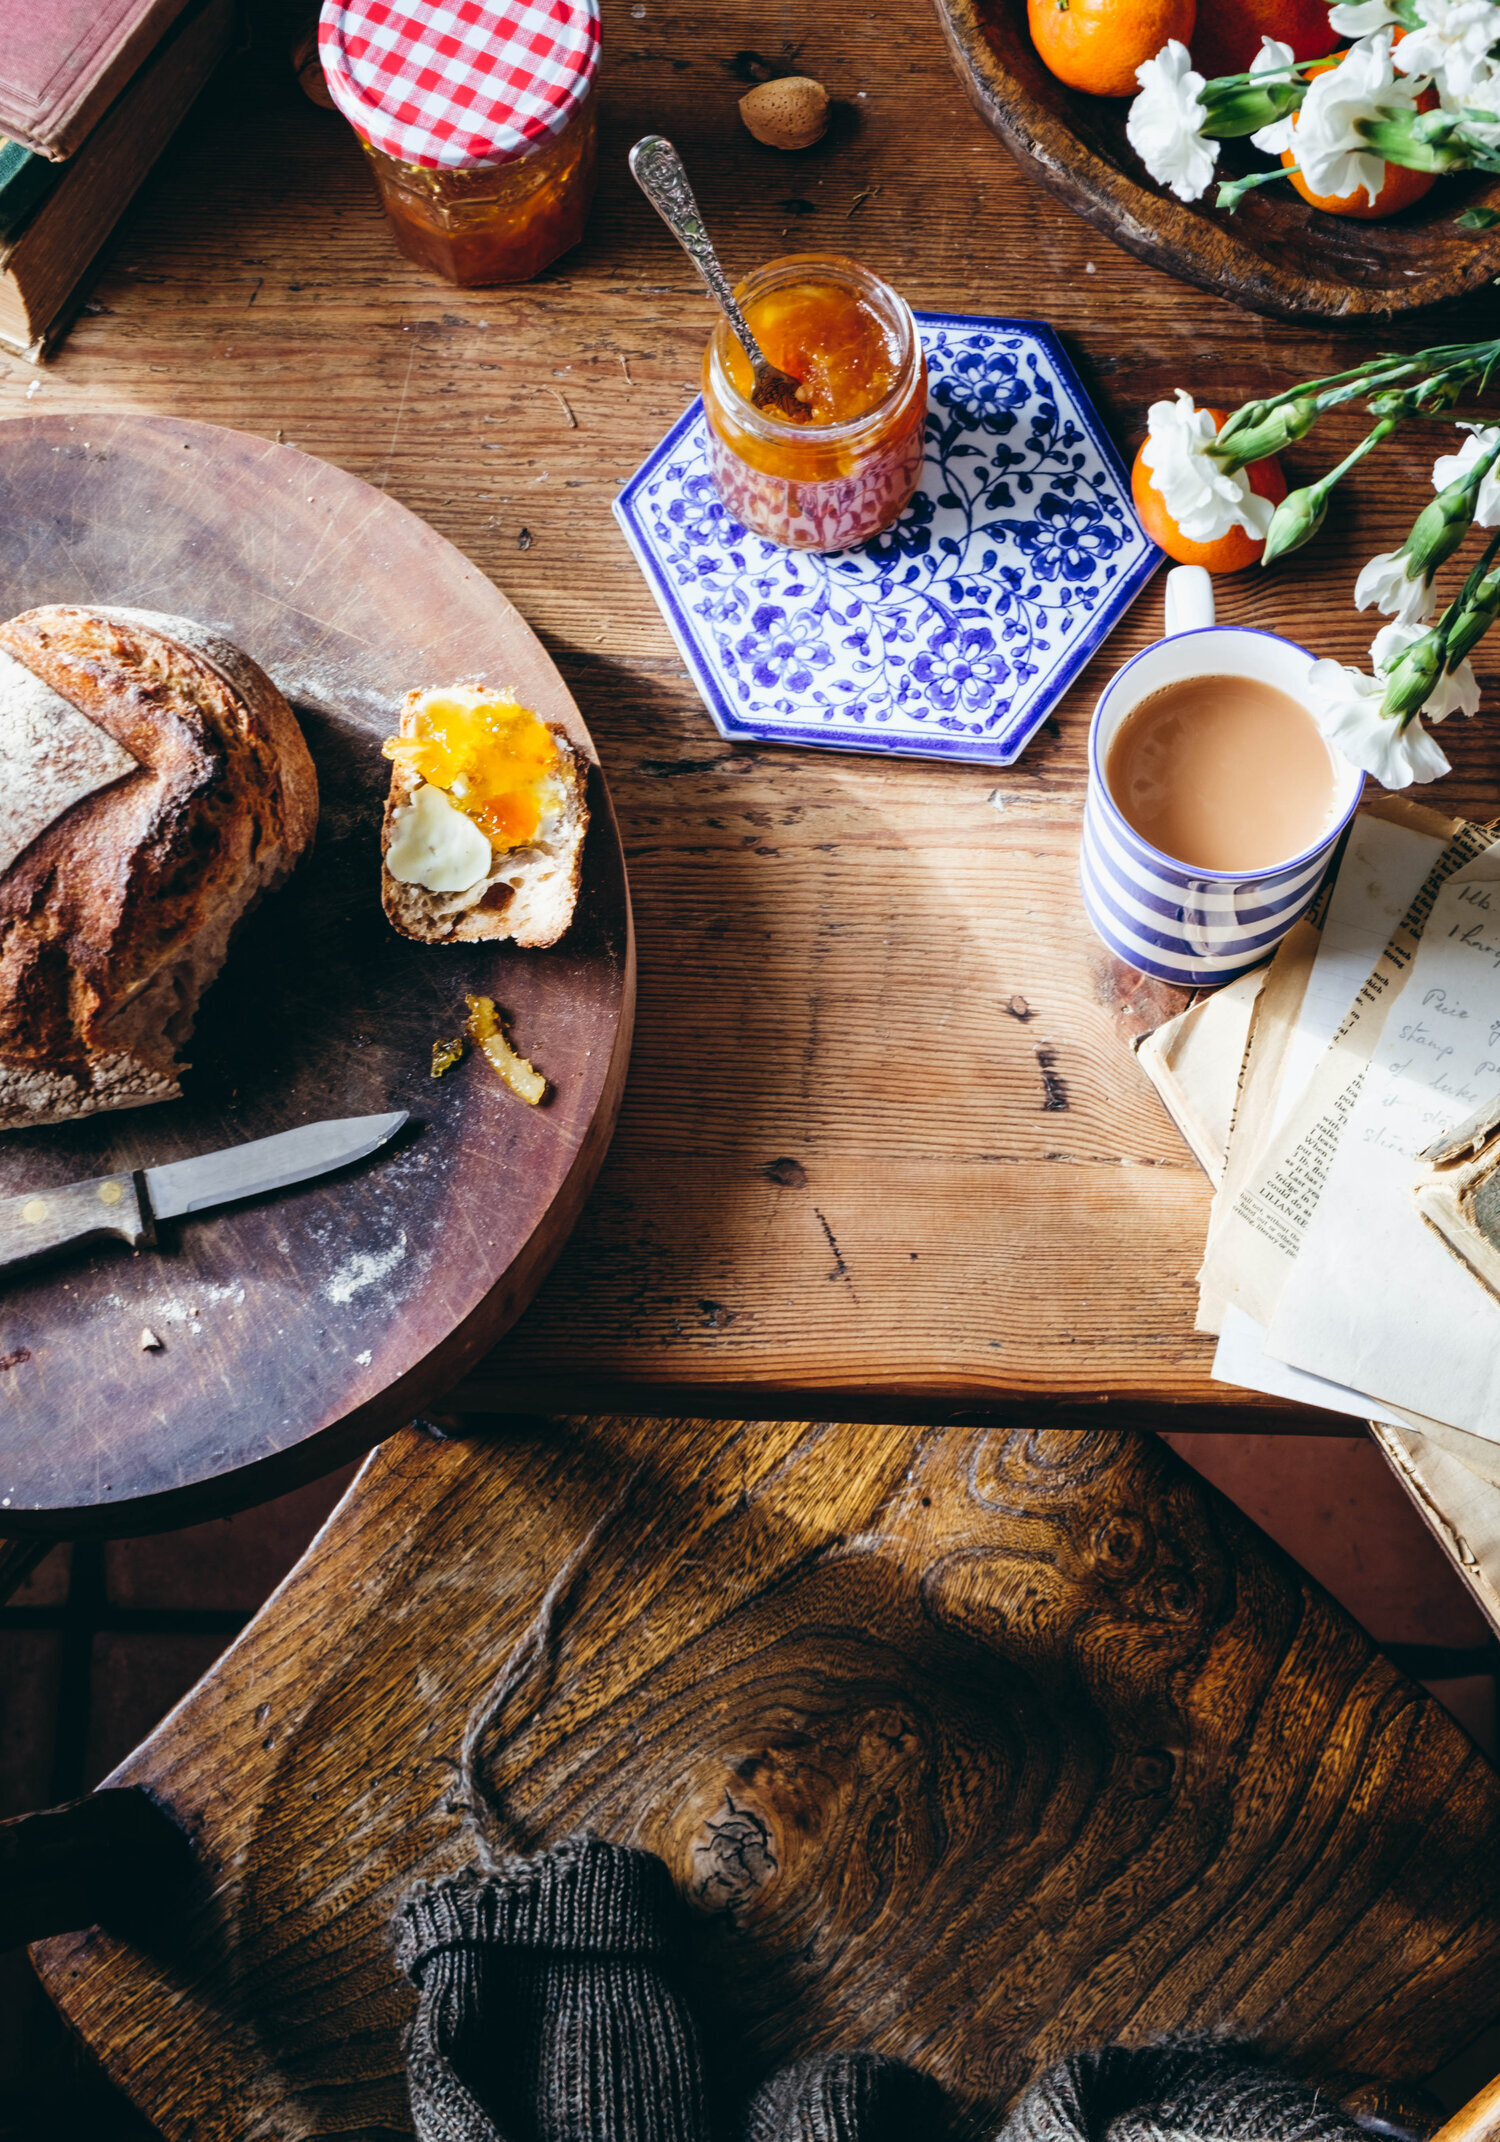
I made my first Seville orange marmalade almost 8 years ago. It was the second week after our son was born and we had just brought him home after a few days in the neonatal unit. Despite no sleep and the stresses of first time mum I remember finding the whole process very calming and relaxing. The result was several jars of bright, shining happiness, full of bittersweet flavour and the house that was filled with the delightful scent of orange nectar. I’ve been making marmalade every year since then. You have to remember that the season for Seville oranges is over in the blink of an eye. They appear on the shelves at the beginning of January and are pretty much gone by the end of February.
One thing that’s definitely clear about marmalade making is that there are probably hundreds of recipes and variations, from lighter to darker, thinly shredded to chunky, with spices or added alcohol. Some even make it in a pressure cooker to save time which I am yet to try! The recipe that I’m giving today is the sliced fruit method, as opposed to boiling the whole fruit first. I’ve tried both methods and to be honest, they produce a very similar result but I somehow find the former one more satisfying.
Classic Seville Orange Marmalade with cinnamon (sliced fruit method)
Ingredients
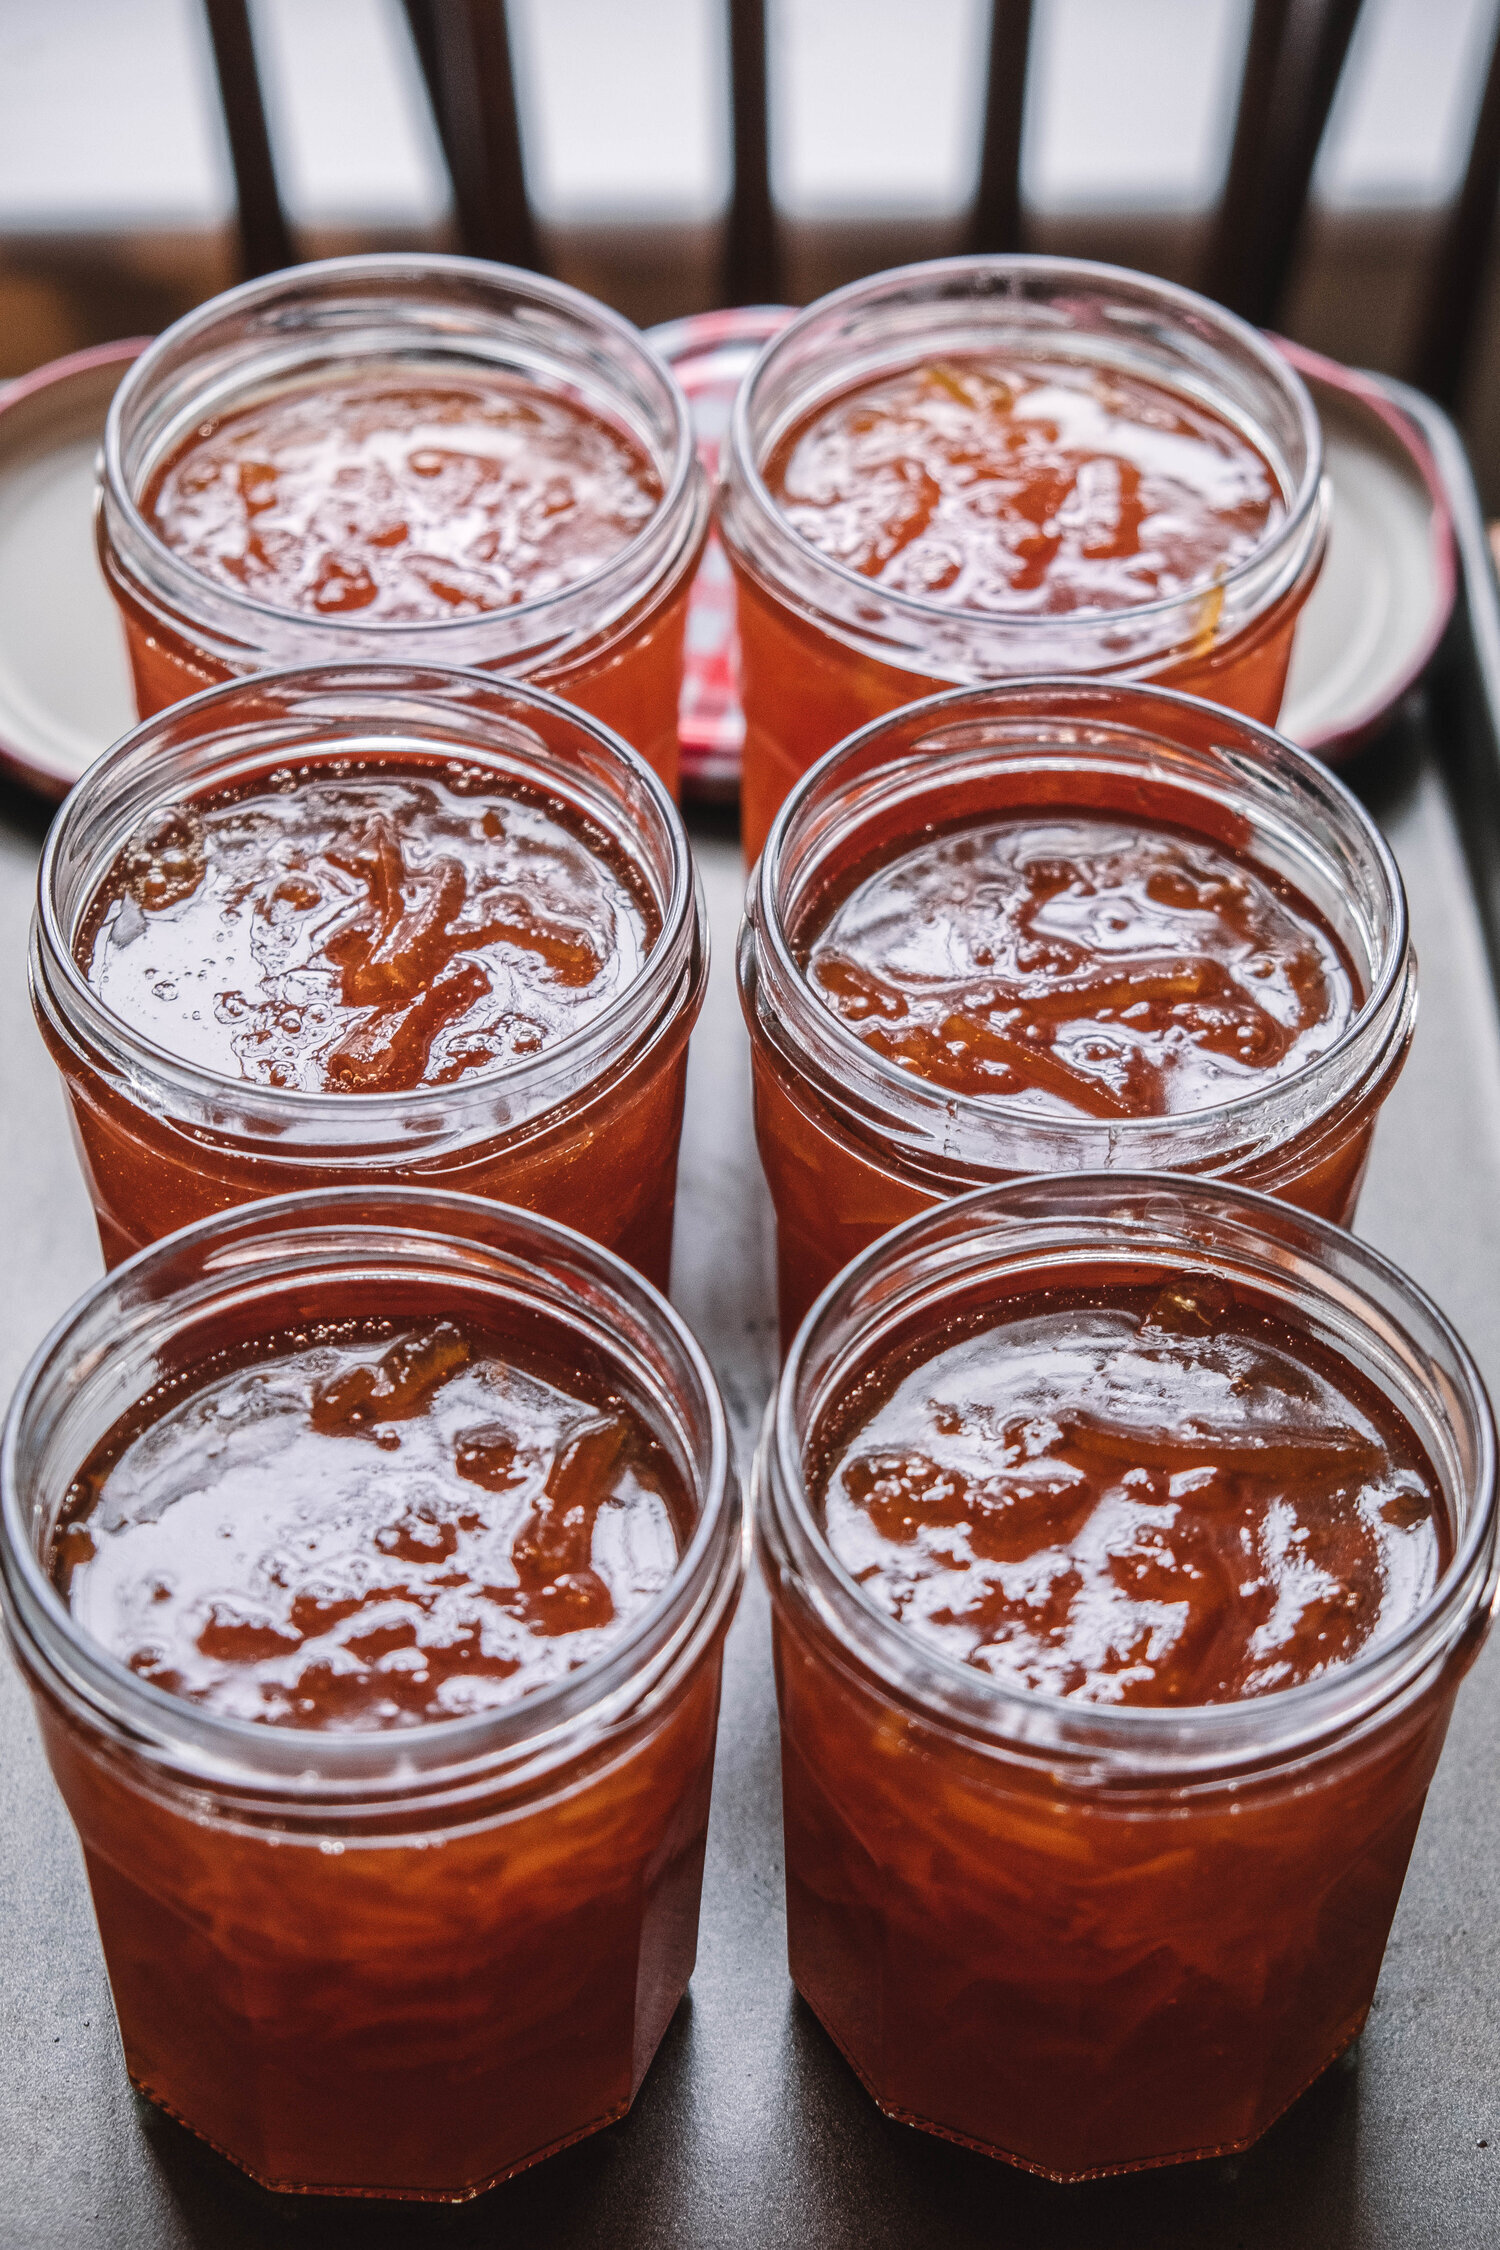
Makes 5-6 x 300g jars
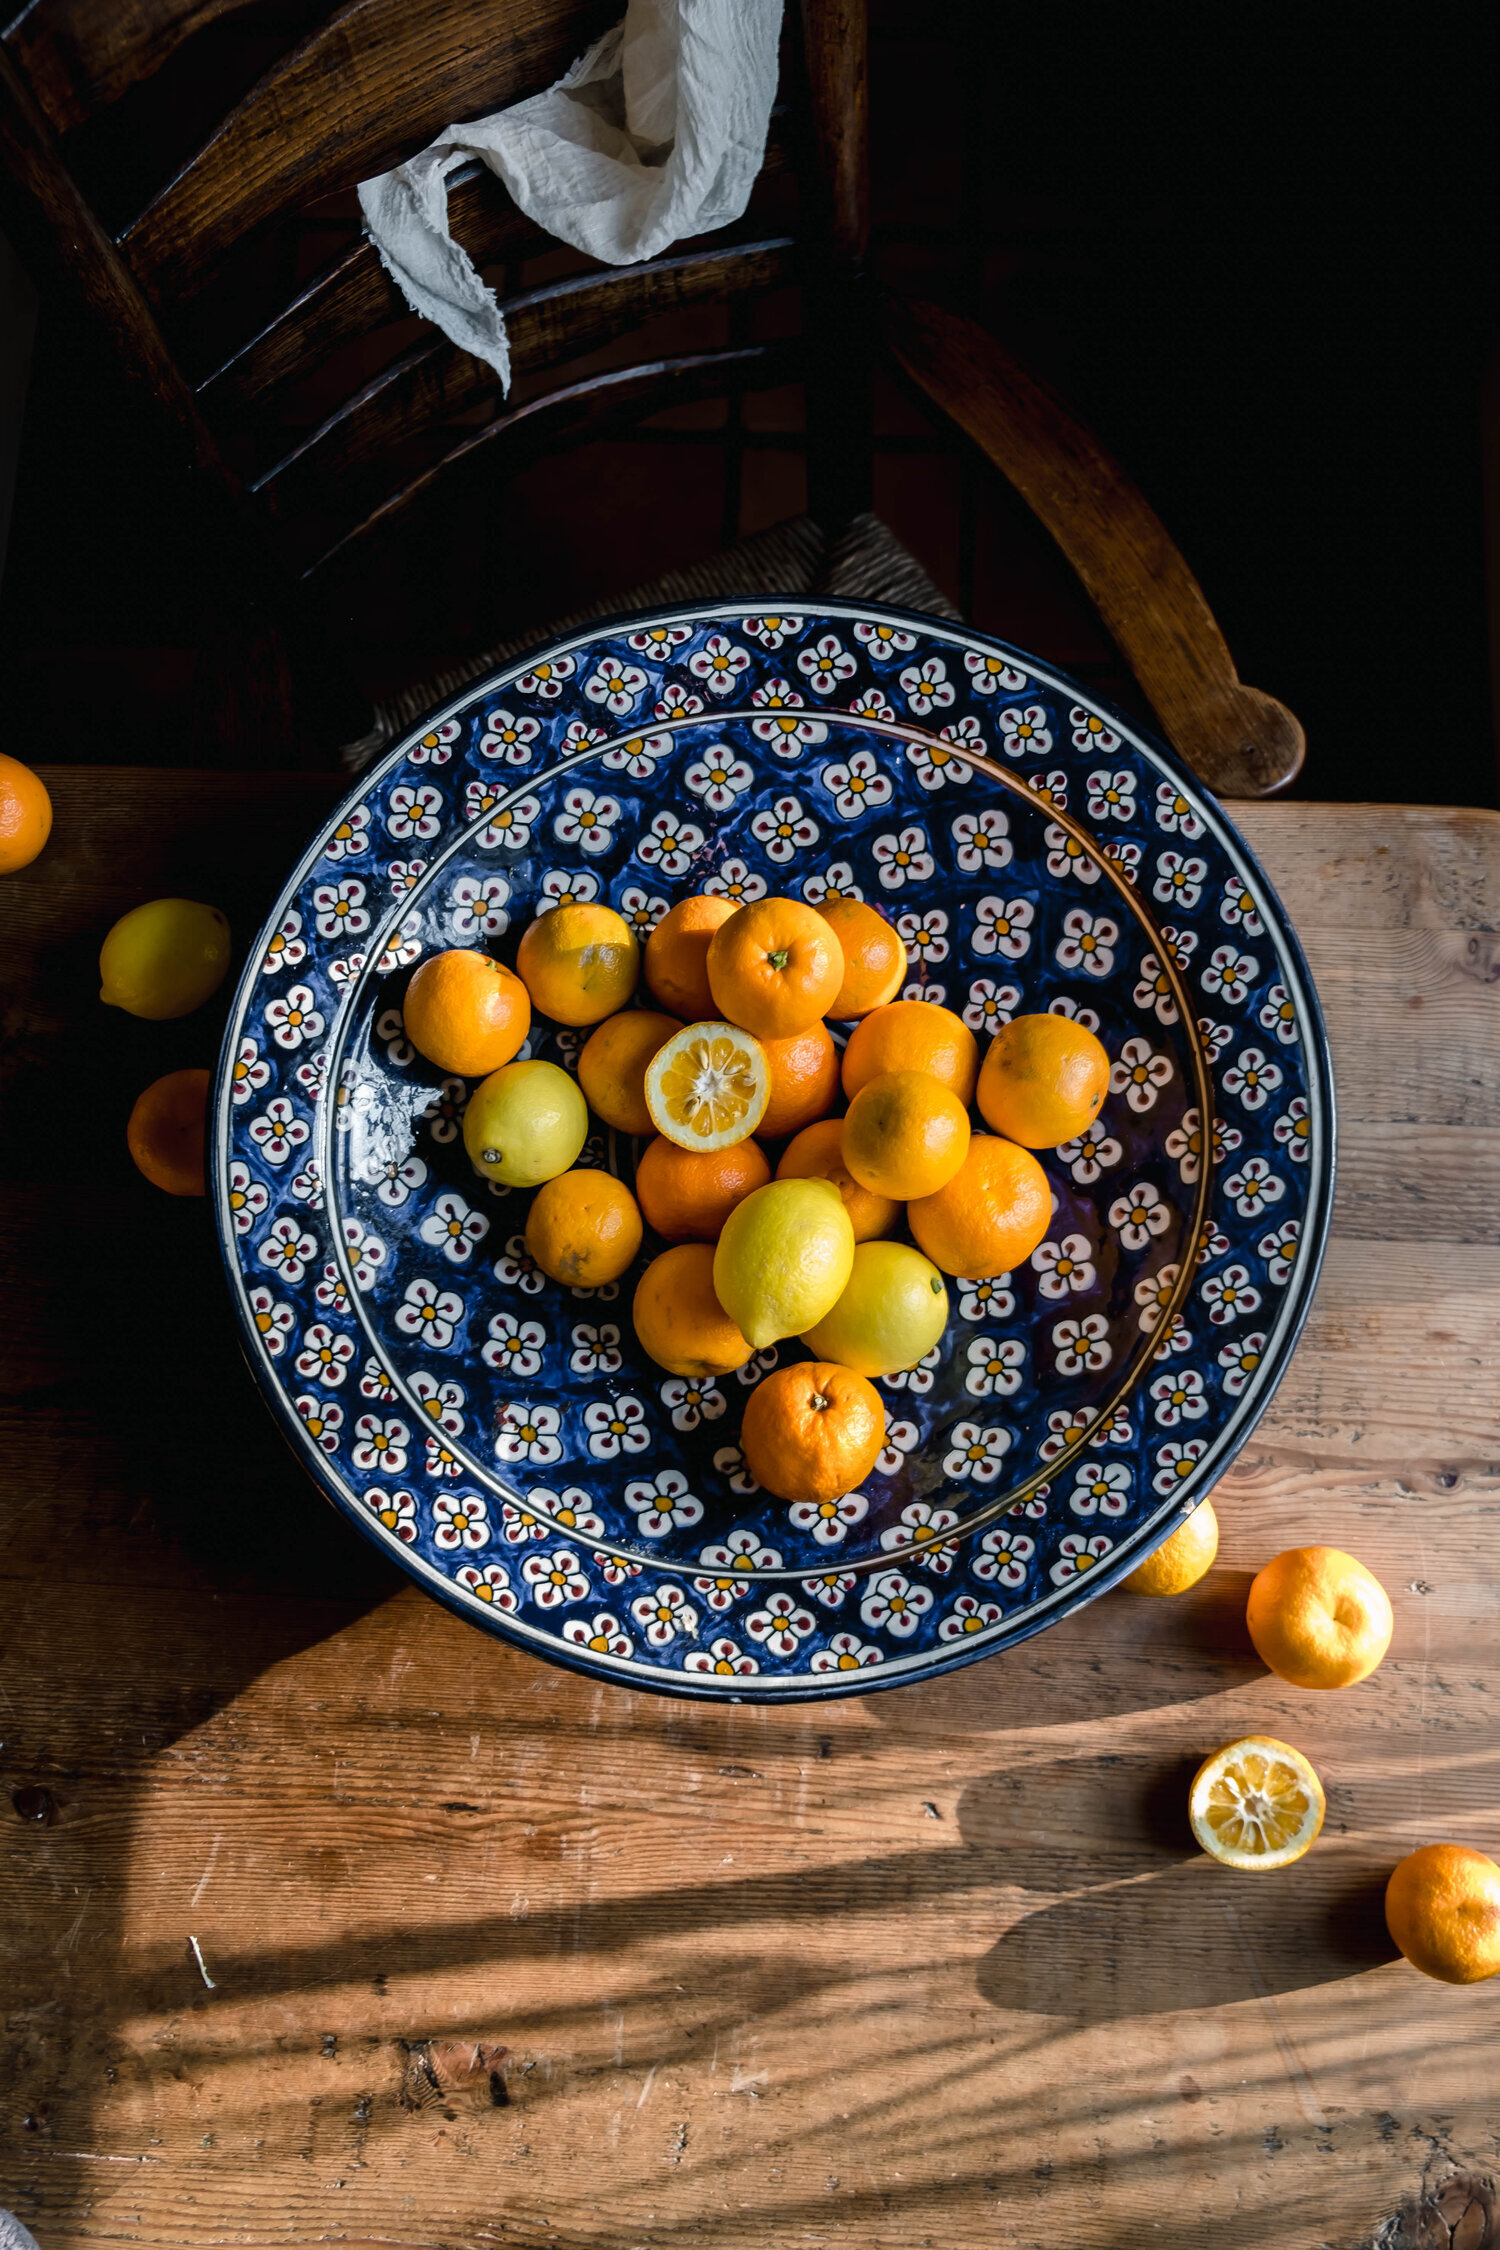
1kg Seville oranges (around 7)
1kg granulated sugar
2 small unwaxed lemons, juice only
2 medium size Ceylon cinnamon sticks (optional)
You will also need: Clean muslin sterilized jars
Instructions
First things first, put the radio or your favourite podcast on, make yourself a nice cup of tea and submerge yourself into the world of marmalade making.
Wash the oranges and lemons and discard the buttons from the ends of the fruit.
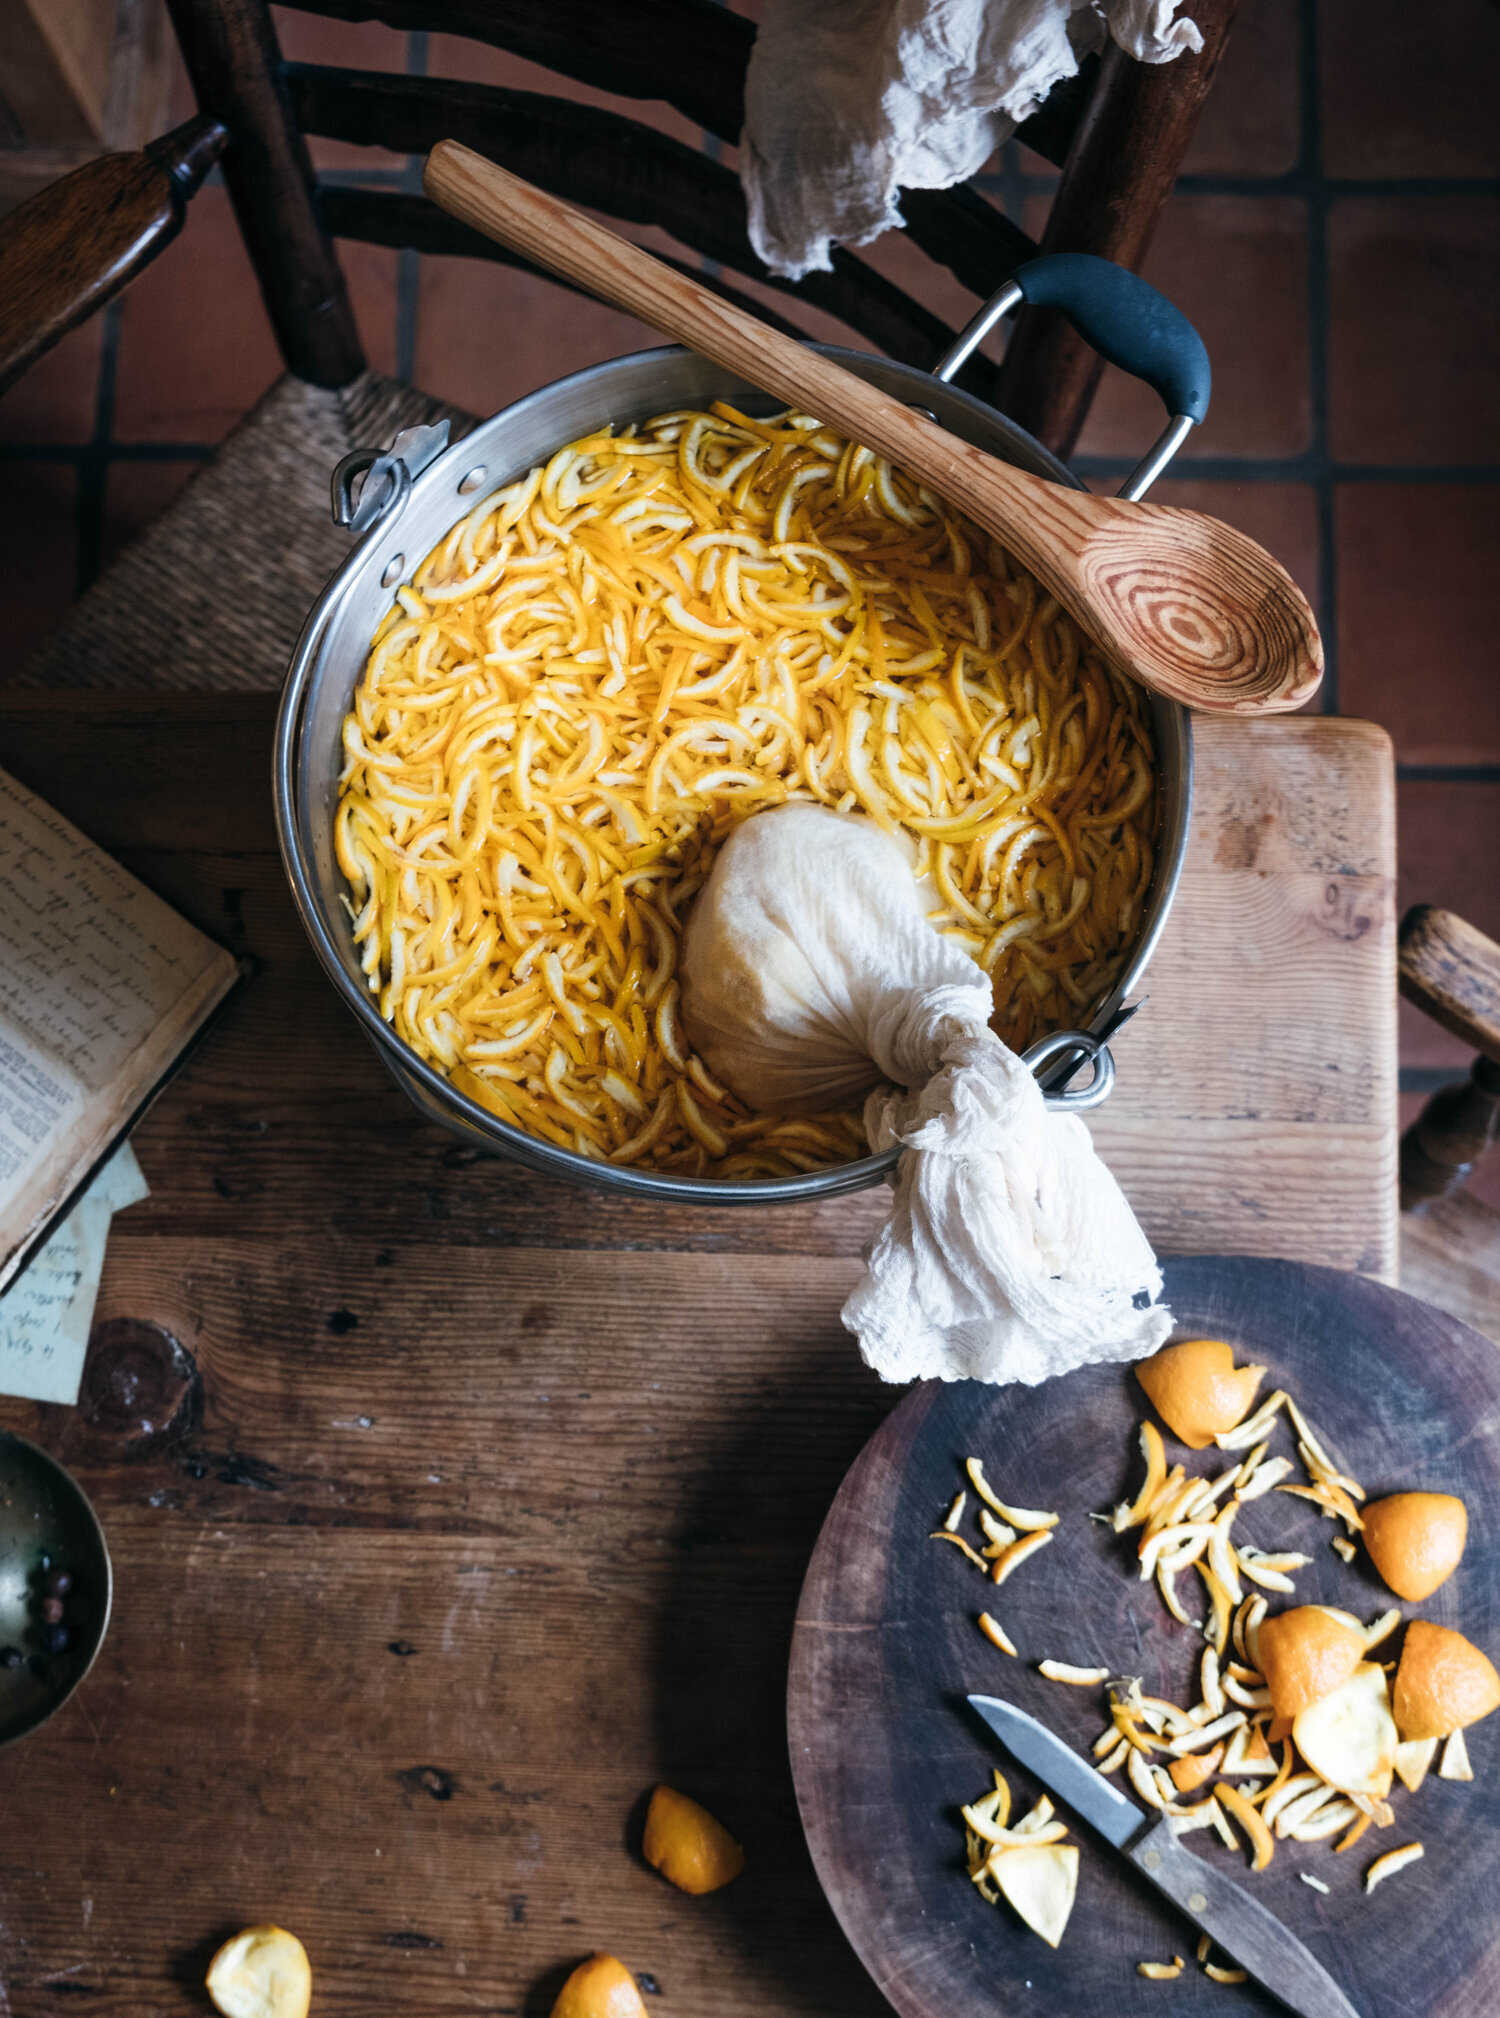
Cut the fruit in halves around the equator and squeeze out every single drop of juice out of them into a jug. From 7 oranges and 2 small lemons I had around 350ml of juice. Strain the juice through a fine mesh sieve and place all the pips and pulp inside the muslin square. Next, using your fingers, try to scrape out as much pith and flesh from the peel as possible and add it all to the muslin square, together with any leftover pips and the cinnamon sticks. It is the white pith or inner part of the orange peel that is rich in pectin which will help the marmalade to set so try to keep it all inside the muslin.
Using a sharp knife (small serrated knife works best!) slice the orange half into quarters and if the peel still has a thick layer of pith try to slice some of it off, adding it to the muslin square.
Slice the peel to fine shreds (or thicker ones if you like your marmalade chunky), put it into a bowl together with the orange and lemon juice and cover with 2.5 litres of cold water. Tie the muslin square into a little bag and add it to the bowl. Make sure everything is immersed in the water.
Leave to soak overnight or for several hours if possible. This helps to extract pectin from the fruit and soften the peel, which will reduce the amount of cooking. However, if you’re pressed for time, you can leave out the soaking altogether and proceed to the next stage; it will just take a little bit longer to soften the peel before you add the sugar.
Put everything into a large stainless steel saucepan or preserving pan and set over medium heat. Cover and bring to a boil. Then reduce the heat to low and gently simmer for up to 2 hours, until the peel is totally soft and translucent. If it doesn’t squish easily, it isn’t ready.
Once the peel feels ready, take off the lid, lift out the muslin bag and leave it in a bowl to cool down a bit. Add the sugar to the pan and stir to dissolve it. When the muslin bag is cool enough to handle, squeeze every last bit of juice and pectin into the pan. Turn up the heat and boil rapidly until setting point is reached, usually between 30 and 50 minutes. It’s very important at this point to monitor the marmalade and keep stirring frequently, as the liquid will rise quite high as it boils.
Meanwhile, put a small plate into the freezer for the wrinkle test and have your sterilized jars ready. Keep testing every few minutes to check if the setting point is reached. This is the most nerve wracking part of the whole marmalade making! Or….if you’re lucky enough to own a candy thermometer, it can save you from a marmalade disaster. Generally, my perfect setting point for marmalade is 104 ºC (which comes out to about 219ºF) – it’s not too drippy, not too overly set, just perfect.
When the marmalade is ready, remove from the heat and let it cool for a few minutes. Stir gently to disperse any scum visible on the surface and any air bubbles. Pour into sterilised jars and screw on the lid. If stored in a dark, cool place, the marmalade will keep for months.